
Compositing is the process of copying or inserting a part of one image into another image. Good compositing is hard for many reasons: because the image content must match in perspective, lighting, and in scene sense; because we must handle pixels at the edge of an image part which integrate light from the unwanted and wanted parts (e.g., the background and foreground); and because some objects are translucent or transparent and show the background.
Matching the perspective and lighting are a bit too complex for this lab, and we'll get to them at the end of the course. Today, we're going to implement scale-aware blending with Laplacian pyramids, and look at some simple background/foreground separation techniques.
Please download these yourself from this webpage.
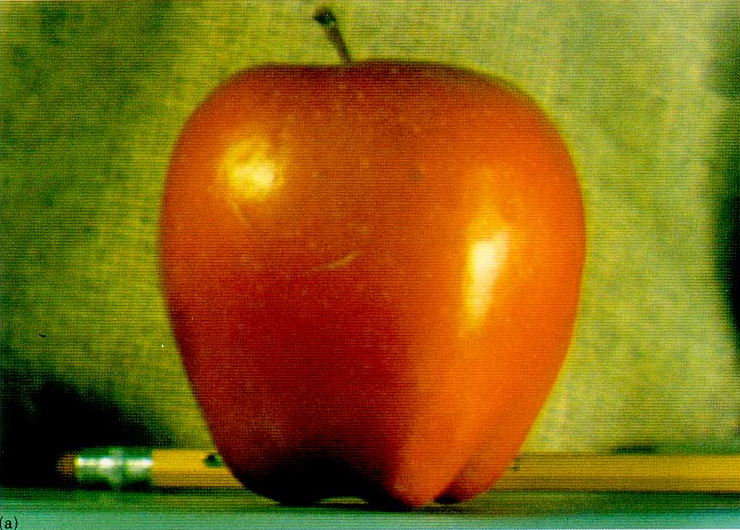
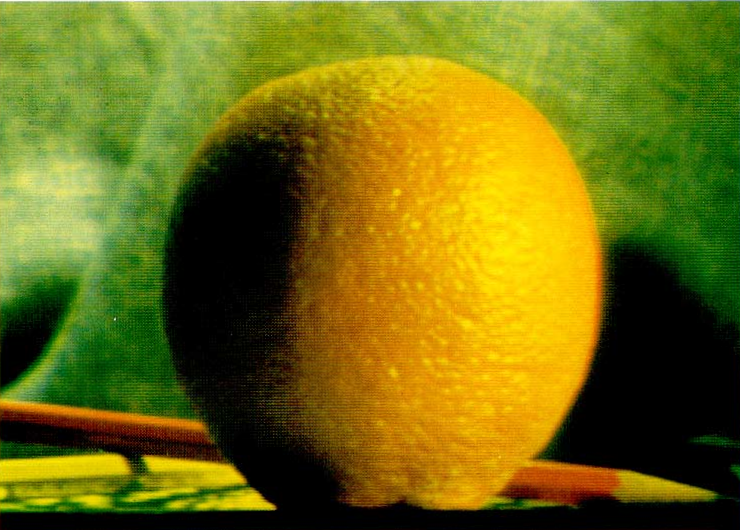
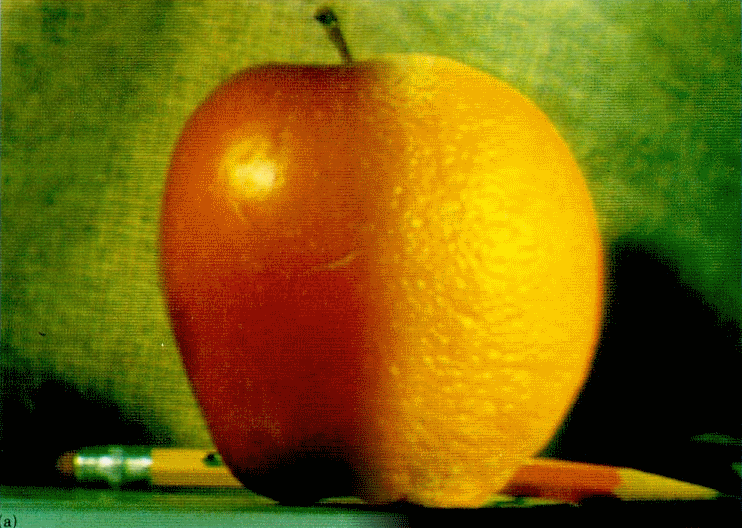
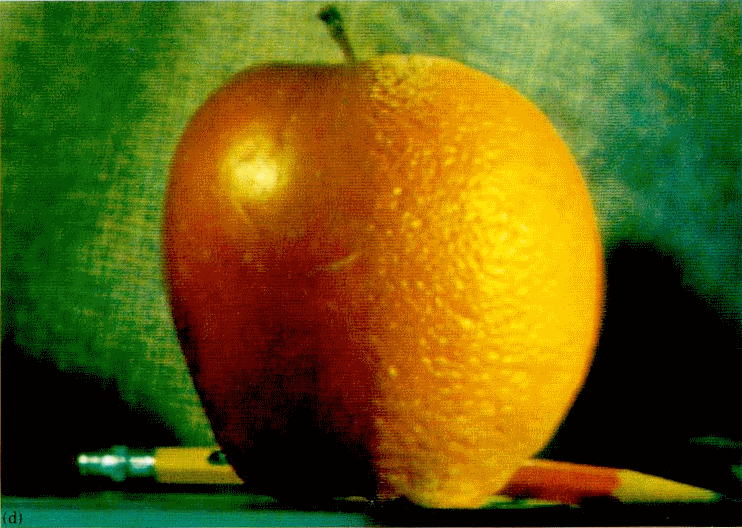
As we saw in lecture, we will blend these two images together along a central vertical line. First, we'll use the 'simple' method of alpha blending with a variable overlap width.
Your alpha matte should look something like this:


Your blended images should look something like this:

Picking the right feathering width for each individual image takes time, and we'd like to develop a method which is able to consider image frequencies across scales within our blending. Laplacian pyramid blending lets us accomplish this.
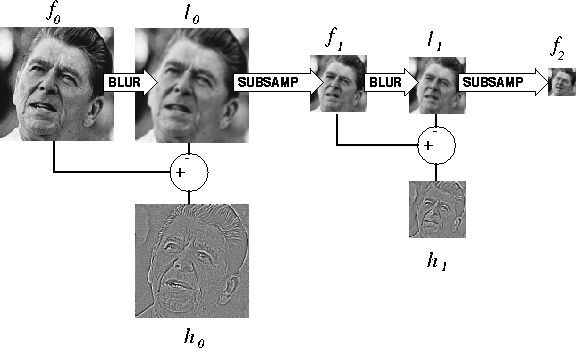

Note: Just for easier visualization, the edges here in \(h_0\) and \(h_1\) are visualized by adding mid gray (e.g., 0.5 if we're working in [0,1], or 128 if [0,255]) and multiplying their magnitude.
Factor your implementation of Gaussian pyramid construction from Project 1 into a function, and use/modify it to implement a function which constructs a Laplacian pyramid. At the smallest pyramid layer (\(f_2\) in Figure 7), we keep the intensity image and not the detail image (what would be \(h_2\)).
Then, implement Laplacian pyramid blending:
Useful notes: We can create a non-feathered mask using our parameterized blend width function from earlier. You can also create any \(M\) in your favourite image editing software.
Pyramid Visualization might help us understand what is happening, or to debug. We provide the create_pyramid_image() function here, which assumes that your pyramid is stored in a multidimensional numpy array, which helps us cope with the different image sizes across the pyramid. The create_pyramid_image() function will produce an image which is similar to Figure 10 in Burt and Adelson.
Here's Burt and Adelson's result (with some color and texture artifacts from scanning). How does your result compare?
Question: What construction variables might affect your result? Can we make these pyramid function parameters, and vary their values to see a difference?
Time to capture your own images and blend them!
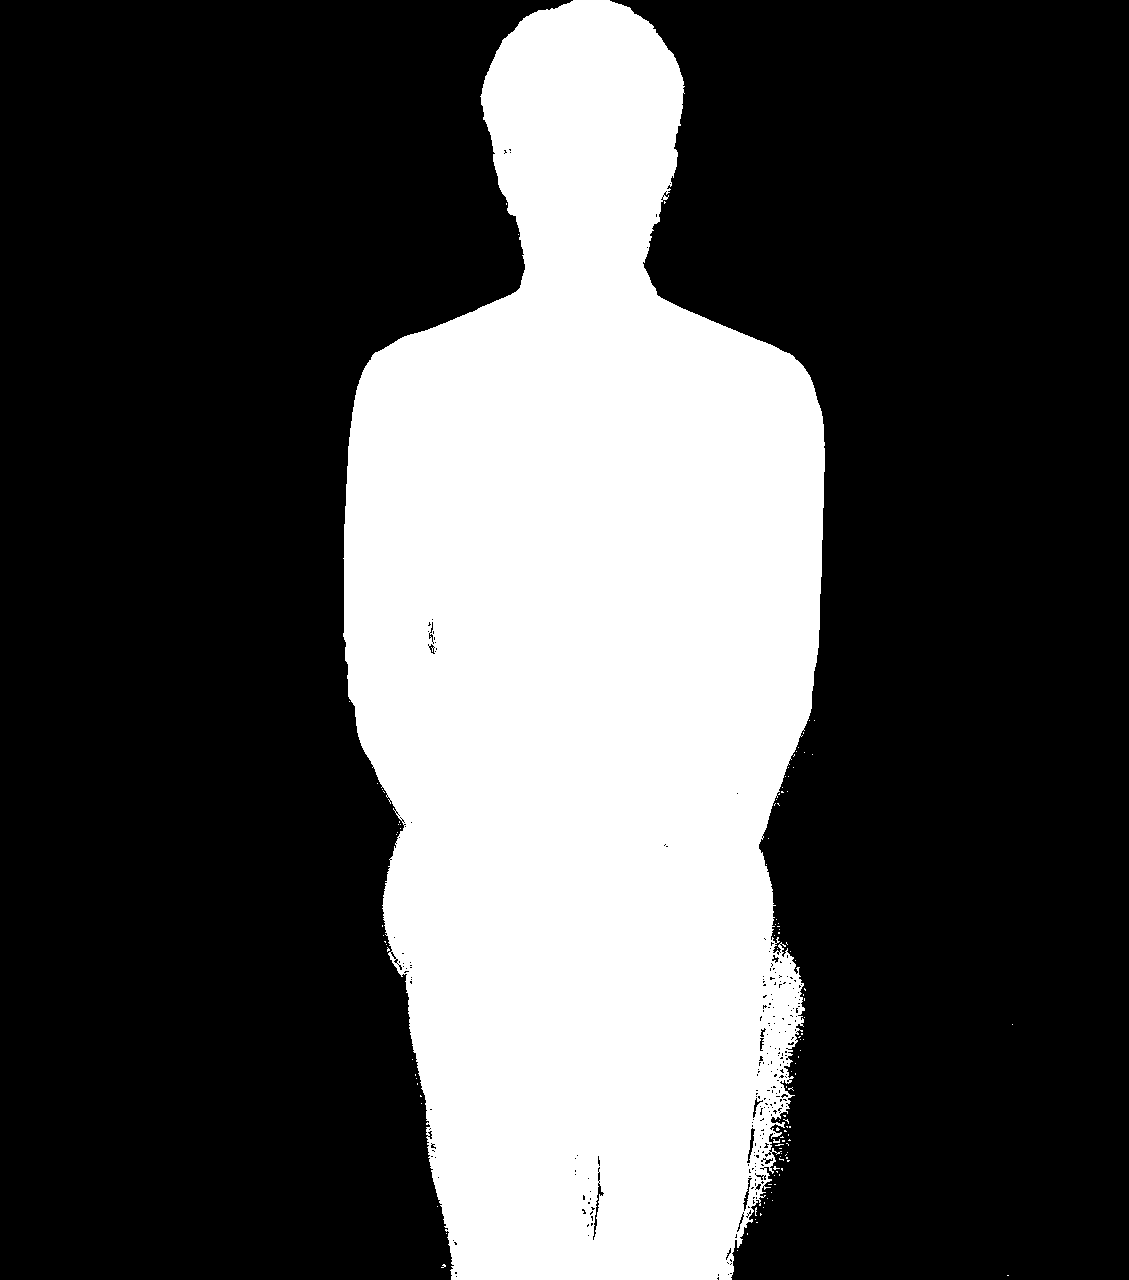
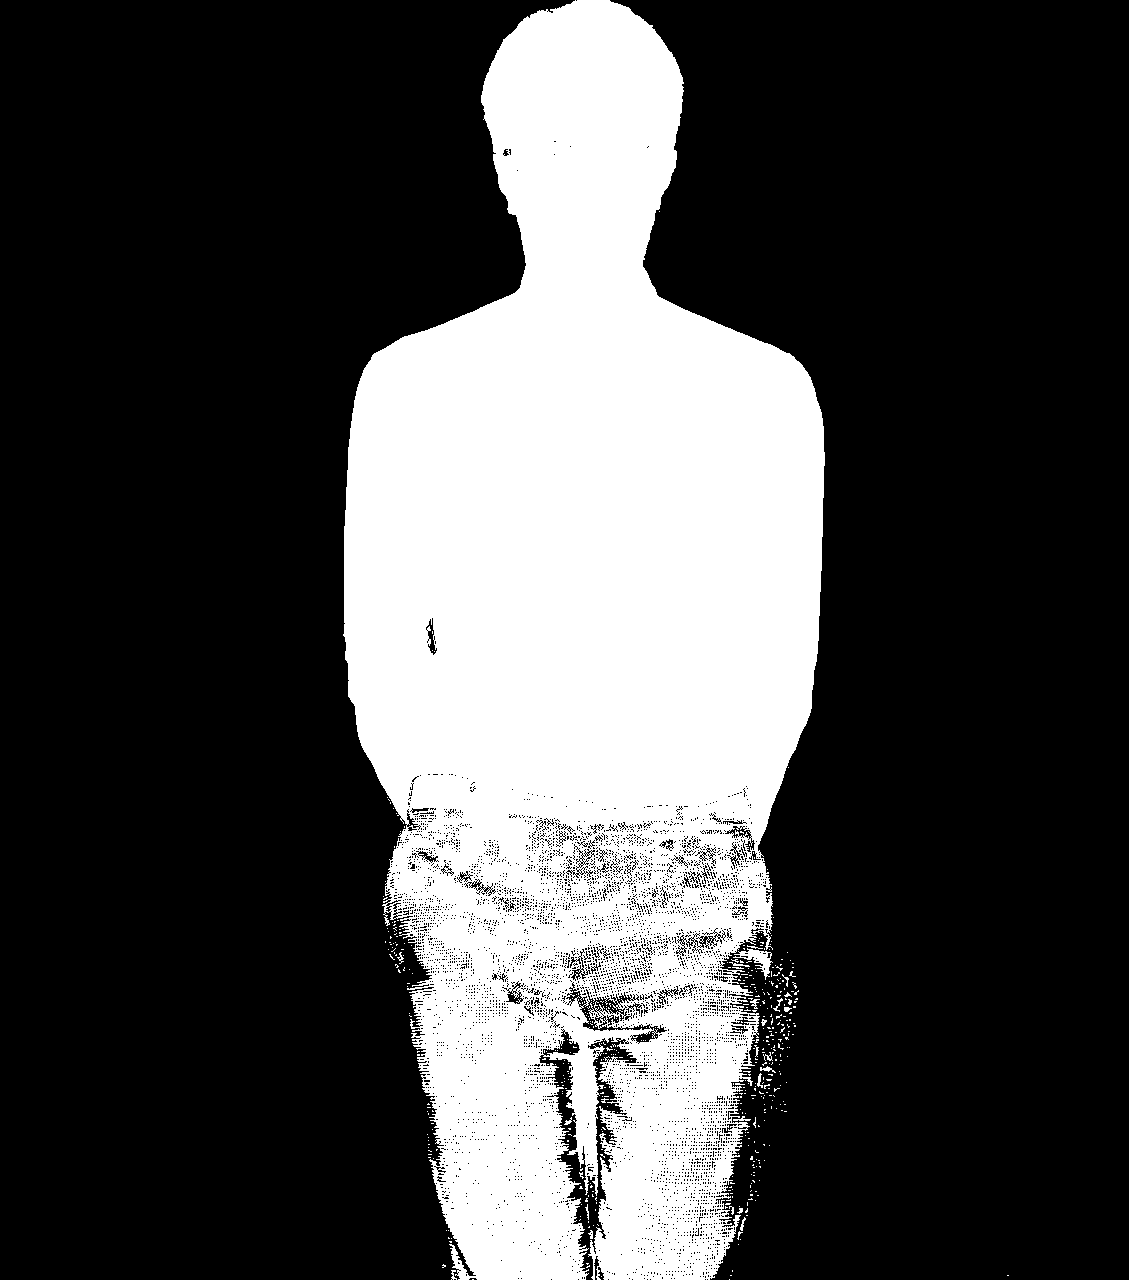
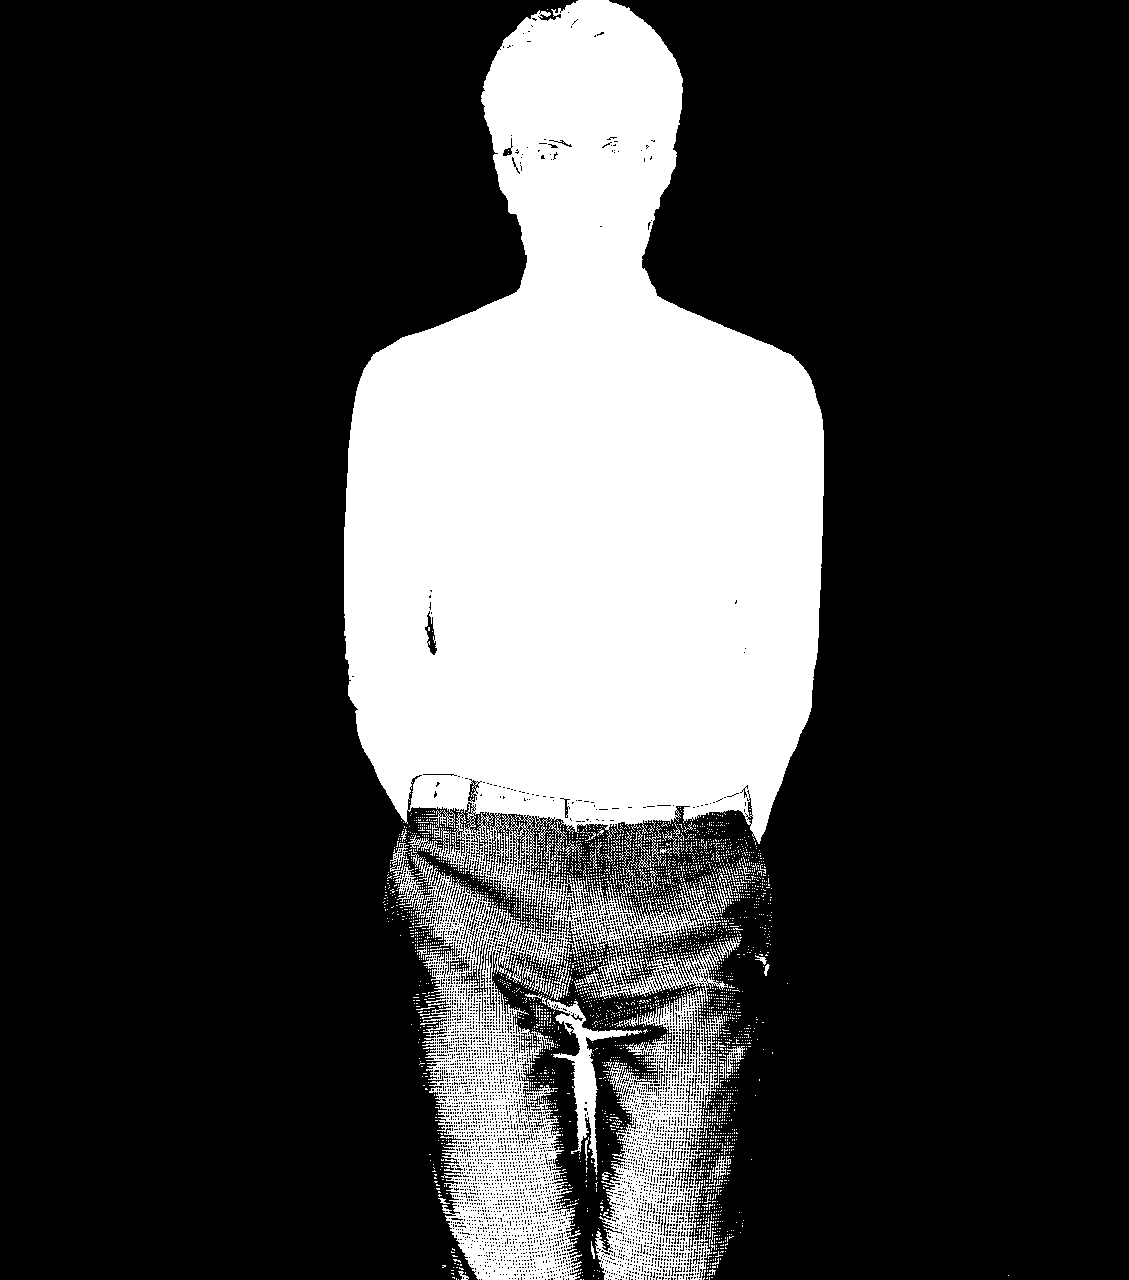
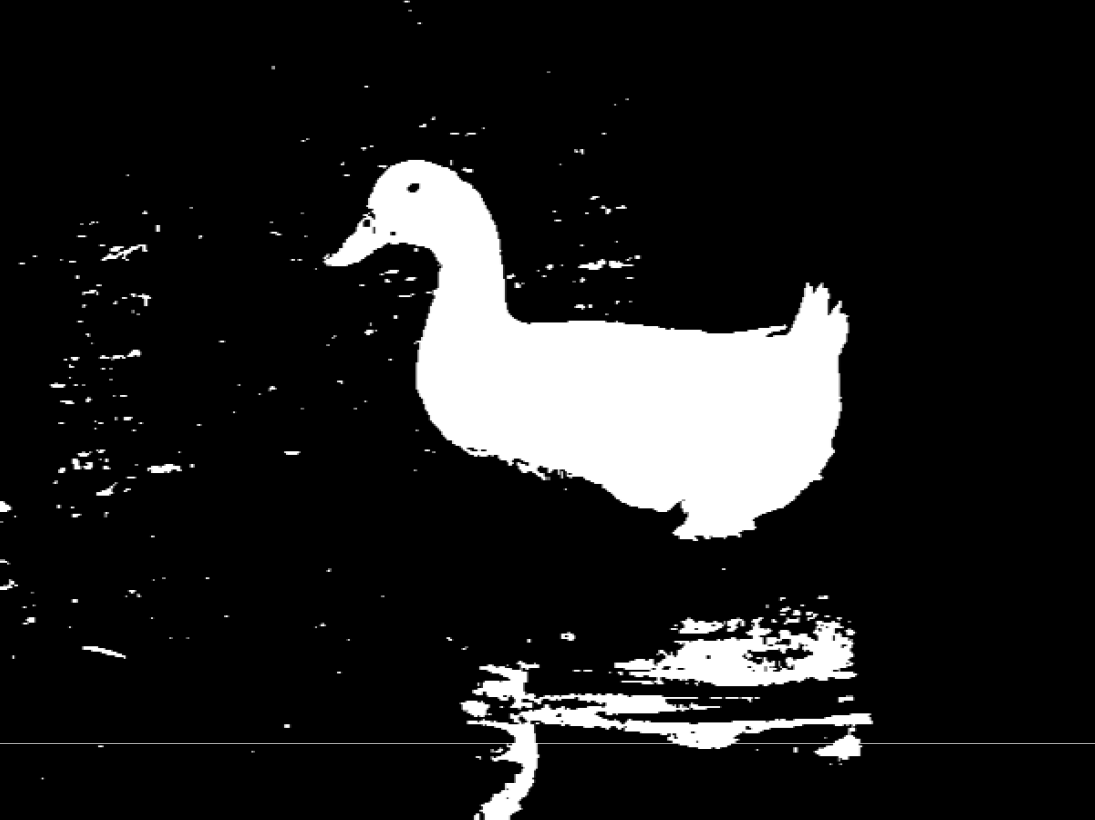
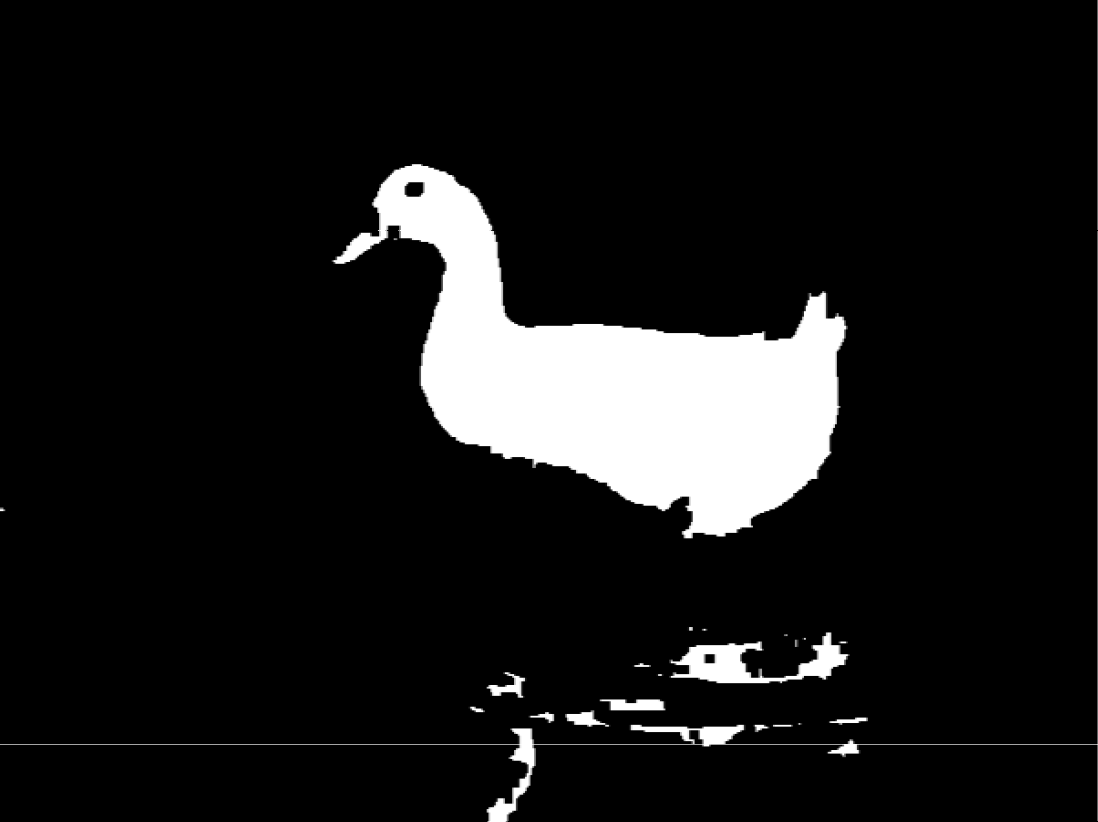
In class, we saw how the matting problem of extracting a foreground object from a background of known color can be solved in closed form under some assumptions via a system of linear equations. However, for this lab, we're going to take the less principled approach ("a hack", you say?) of difference imaging and then clean up the mask with a new kind of image processing: morphology.
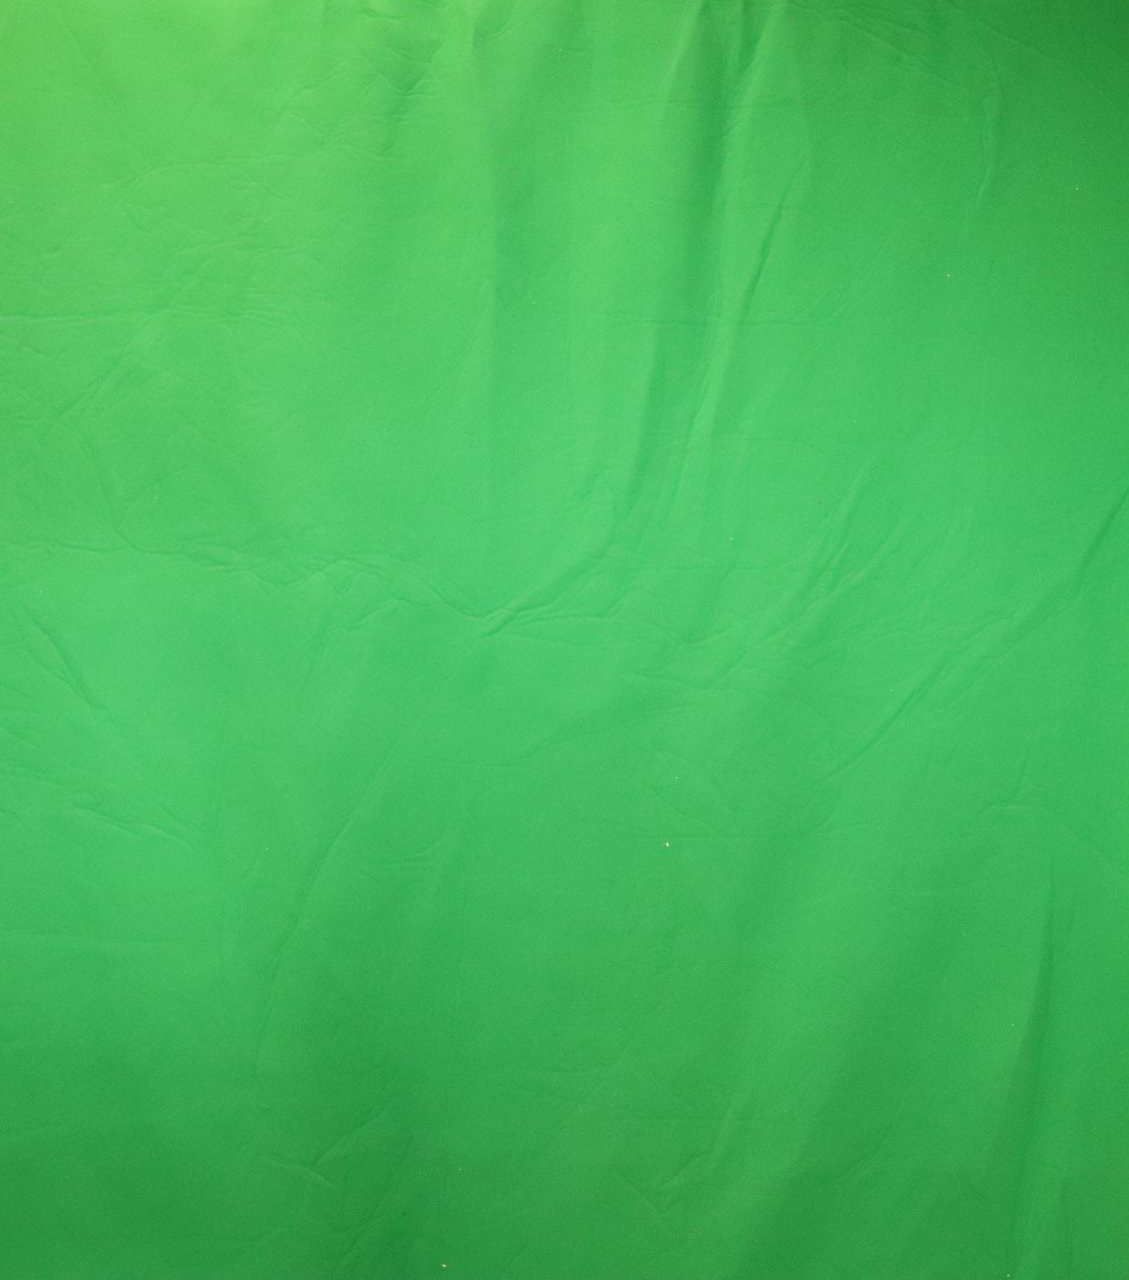
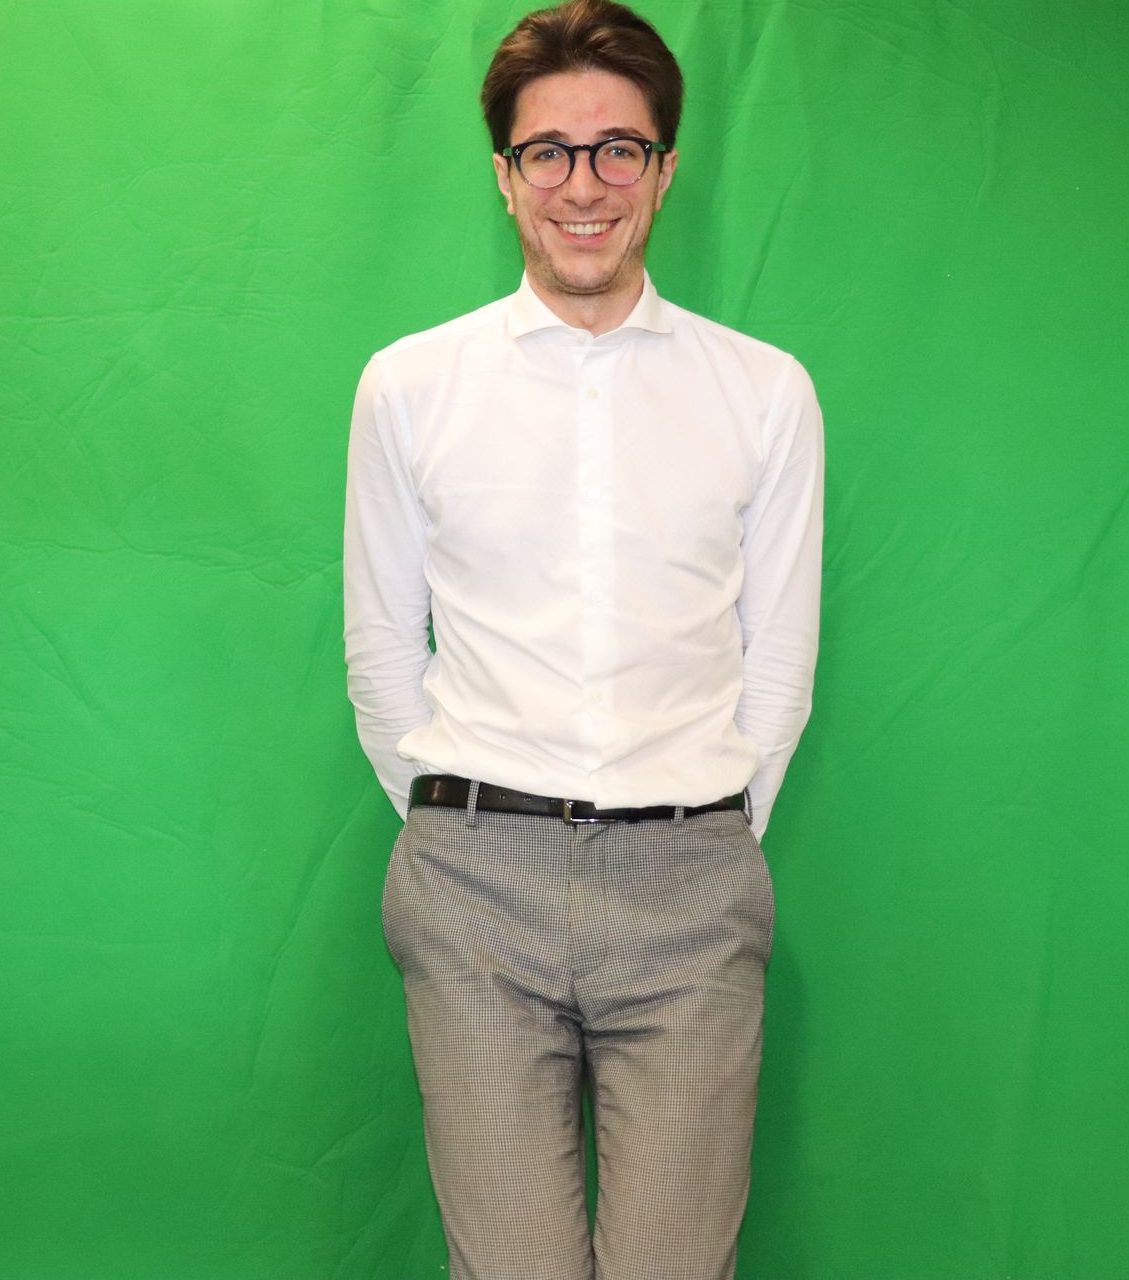

Typically this technique will only work if the images are taken close together in time, or in controlled lighting conditions. Even then, minor variations in scene lighting between shots from the subject themselves occluding and scattering light will cause artifacts in the result. Here, we just can't quite get the right threshold to segment just the object—either we remove all the background, or some of the foreground.
A brief interlude: if you are interested in seeing other approaches then we've included a few simple background segmentation references here. These work by the basic process of difference imaging, too, but with more sophisticated pixel appearance models.
The segmentation mask computed from the simple difference image has many problems. Some large regions are either not selected or incomplete, but many small single pixels along the foreground/background edge remain, too. Morphology lets us clean up binary masks with the mathematics of sets and structure elements. Think of morphology as a kind of filtering but, instead of using continuous addition and multiplication for the real domain, we use set notation for the binary domain.
Reading: An introduction to morphology, by Danny Alexander @ UCL. Please read this slide deck with your colleague and see what operations and effects morphology provides. Slide 44 and beyond are less of a concern for today's lab.
OpenCV has support for many kinds of morphological operation (docu here), including:
cv2.erode() erodes an image. See page 13 (slide number 20).
cv2.dilate() dilates an image. See page 15 (slide number 22).
cv2.morphologyEx(img, cv2.MORPH_OPEN, kernel) erodes and then dilates an image. See page 38–45 (slide number 45–52).
cv2.morphologyEx(img, cv2.MORPH_CLOSE, kernel) dilates and then erodes an image. See page 38–45 (slide number 45–52)
cv2.getStructuringElement() gets a structuring element. See page 17 (slide number 24).
Investigate how morphological operators (and other simple pixel manipulations) can be used to improve your segmentation mask! Include your script within your writeup which explains your approach.
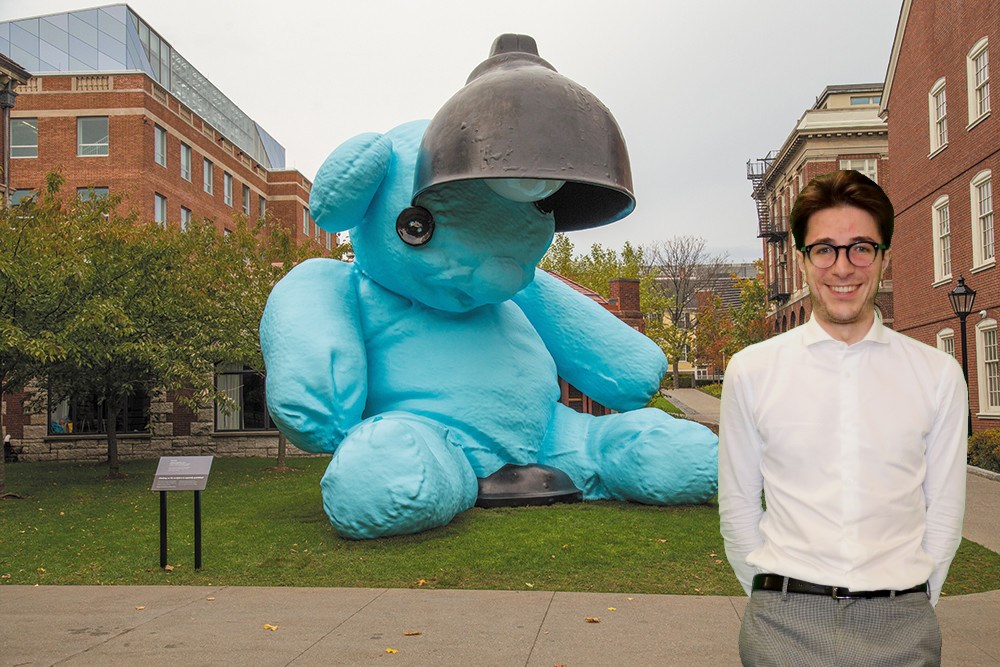
Composite your foreground onto an interesting background...
Please upload your Python code, input/result images, and any notes of interest as a PDF to Gradescope.
This lab was developed by the 1290 course staff.
